
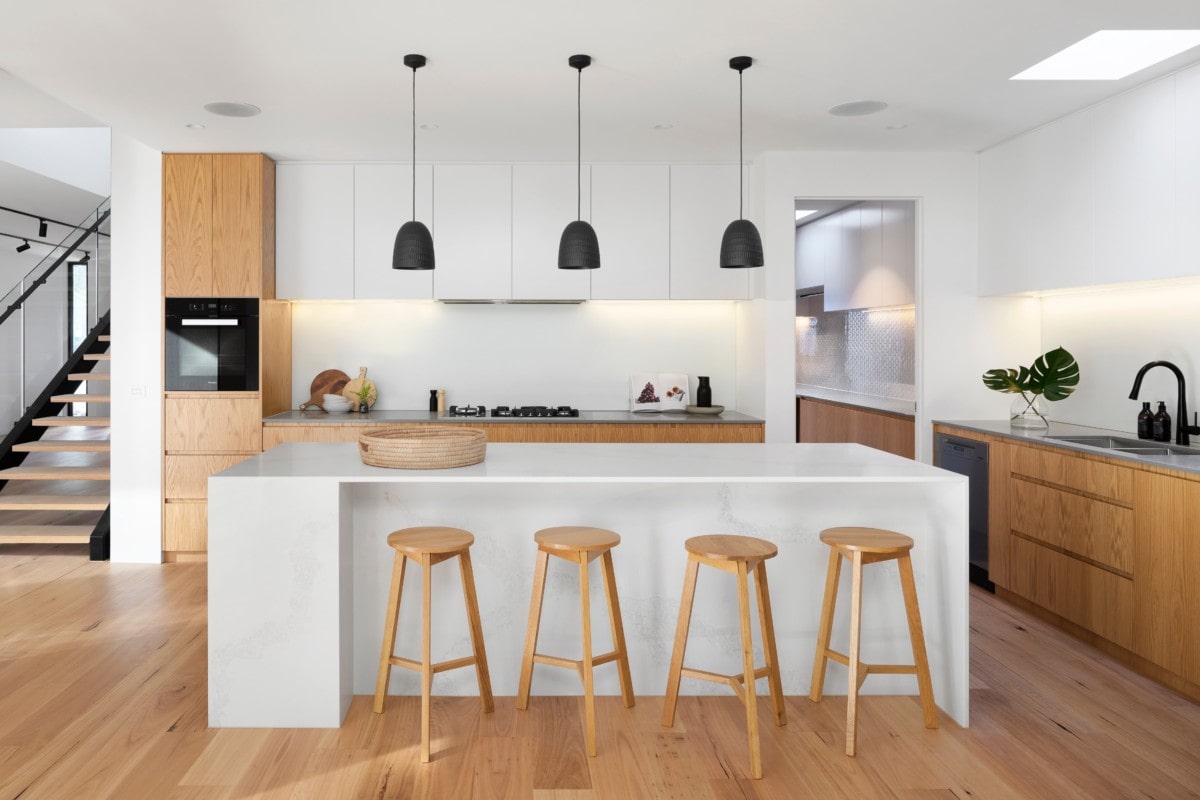
21 DIY Kitchen Renovation Tips for a Makeover On a Budget
Kitchen renovations are one of the most popular home resurgence projects – and one of the most daunting. There are many things to consider during a renovation, from appliances and cabinets to flooring and countertops. They can moreover be expensive and time-consuming. Luckily, with some know-how and perseverance, you can well-constructed your makeover quickly and on budget.
So whether you’re planning a total tear-out in your house in Nashville, TN, or just a few cosmetic upgrades in your San Francisco apartment, read on for DIY kitchen renovation tips to help you get started.
1. Surpassing renovating, start by organizing your items
The first step to a kitchen makeover is organizing your belongings and moving everything out of the space. After all, it’s difficult to renovate your kitchen cabinets or install new flooring if they’re full of clutter.
Start by removing anything you don’t use or need and organizing the rest. “You should moreover take wholesomeness of this opportunity to create a storage system that works for you,” notes Jamie Martin from Destination Organization. “Make sure you split items into categories.”
Your DIY renovation can moreover be an opportunity to requite yourself a fresh start in the kitchen. “For example, take the time to declutter by grouping similar items together,” suggests Megan Spillman, Certified KonMari Consultant with Peace and Tidy. “It’s moreover a good time to experiment with variegated storage options.”
Organizing your items earlier makes it easier to move everything when when your makeover is complete.
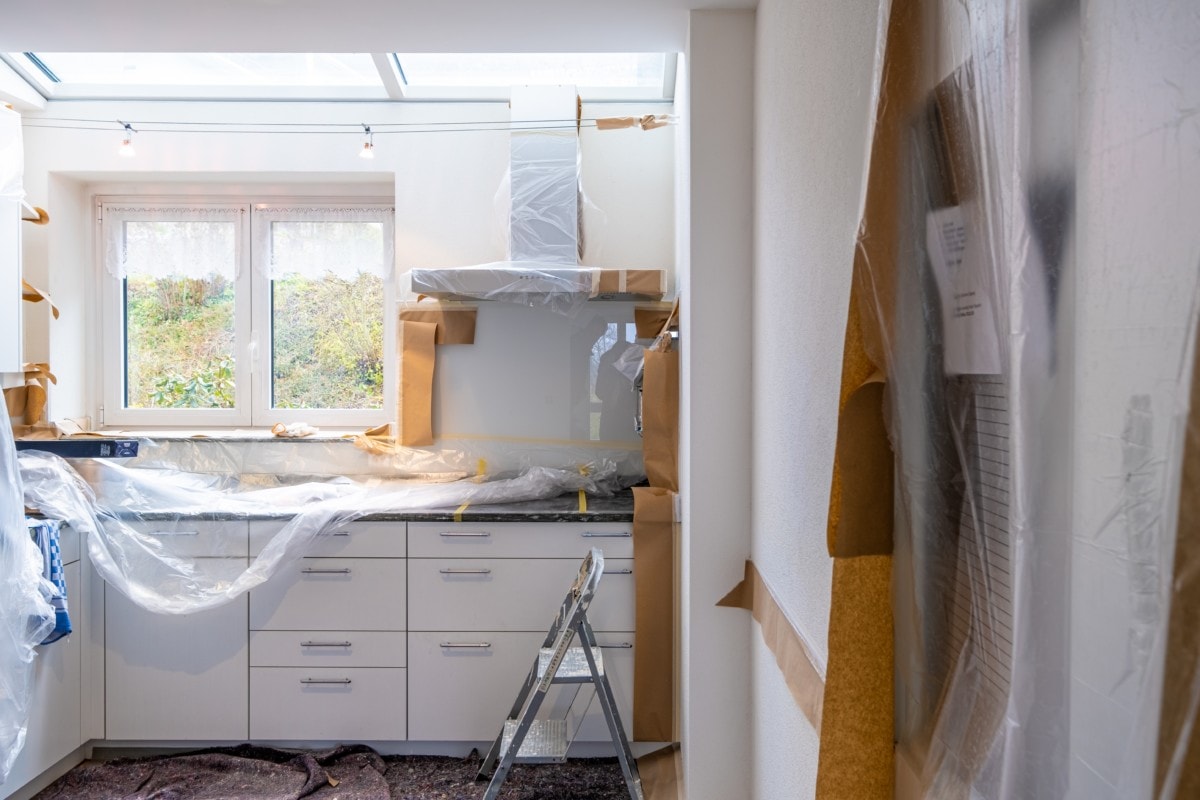
2. Pack your kitchen as though you’re moving
If you’re tackling a large project that requires a temporary kitchen, take this time to review your belongings. Jennifer Dwight from Ideal Organizing Design suggests packing items you want to store for later in unsealed boxes and labeling them as if you were moving. “Make sure to donate, recycle, or discard anything you no longer use,” she says.
Utilize boxes for maximum efficiency
It’s easy to lose track of items when organizing. To help make your life easier, “box your things and label them clearly,” suggests Gary Ashton, CEO and Founder of The Ashton Real Estate Group. “When transplanting out the cabinets, it’s weightier to place a mark on the specific cabinet that corresponds with the box label for easy identification.”
Additionally, you can designate one box for donations to simplify your life later.

3. Use your makeover as a endangerment to start fresh
A DIY kitchen renovation is your endangerment to start fresh and create the space you’ve unchangingly dreamed of. It may be tempting to shove everything into a box and forget well-nigh it until your makeover is complete, but that won’t help you in the long run.
Amy Fritz, owner of Thoughtful Organizing, suggests removing anything you aren’t using surpassing starting your renovation. “This might take you a few passes, but it’s important,” she says.
Keep an eye out for anything old, dirty, or unusable. “Get rid of these belongings, expressly anything chipped, broken, or mismatched,” says Barbara Reich from Life Organized. “When you have duplicates of an item, save the weightier and donate the rest.”
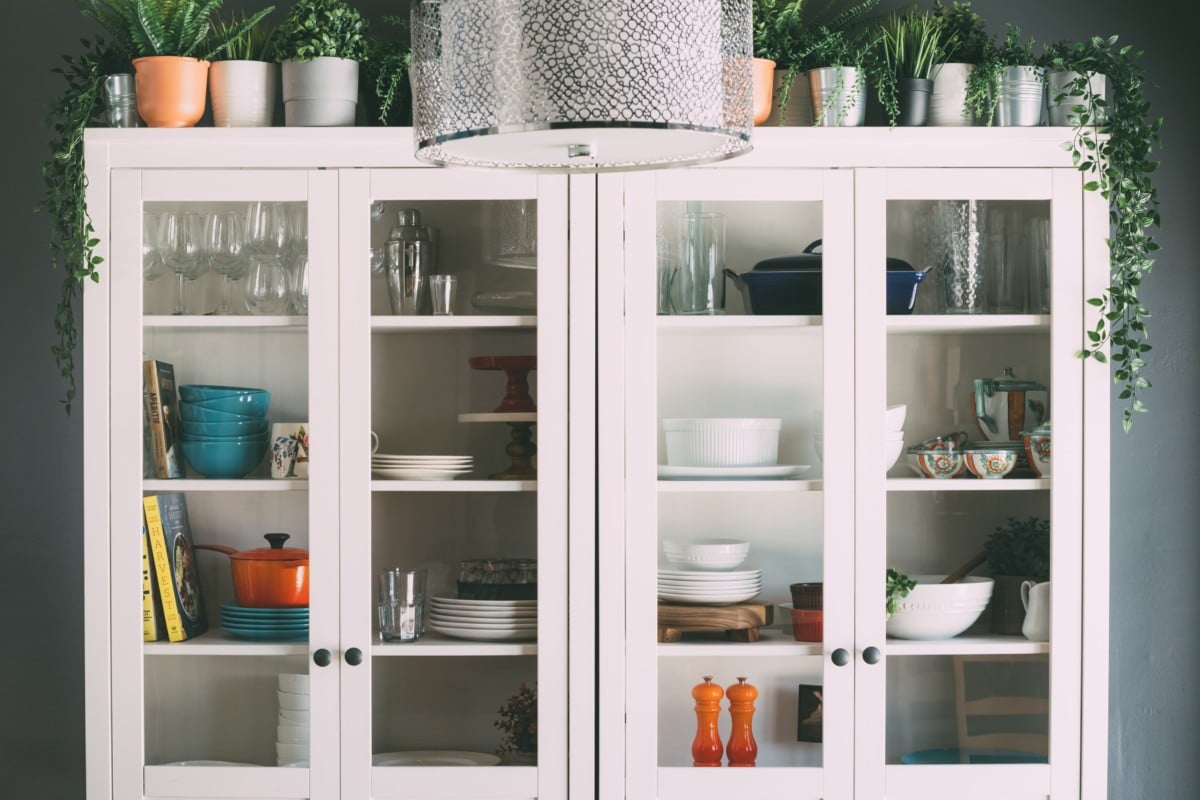
4. Scour your cabinets for any unnecessary items
Pay special sustentation to your cabinets, drawers, and shelves during your organizing process. “First, pull everything out and sort similar items into categories,” suggests Angela Mai, owner of Organized Calm. “Then, go through each category and either donate or trash any items you no longer use, keeping only the essentials.”
As you work through your cabinets and drawers, the team at Clutter Cricket suggests asking yourself three questions: Do you use it? Do you love it? Would you repurchase it? You don’t want scramble taking up space in your new kitchen.
5. Create a system for small items
The last step of the decluttering process is ensuring you don’t miss your small belongings by checking your cabinets and drawers. As you do this, alimony track of your mugs, cups, trinkets, and more. Additionally, “pay special sustentation to utensils,” advises Amy Trager, Certified Professional Organizer. “They can hands build up and wilt cluttered.”
When decluttering your favorite mugs, “start by selecting one mug at a time and deciding how important it is to you,” suggests Jen Cazares, Certified Professional Organizer in Chronic Disorganization with Livable Spaces. “Set a limit for yourself and consider how much space you’ll have in your new kitchen.”
6. Decide on a budget
Now that you’re washed-up organizing, it’s time to decide on a upkeep for your makeover. Figuring this out can be difficult, so “put the time in and do your homework,” suggests the team at Bruzzese Home Improvements. “It will pay off in the end.”
This process determines the telescopic of your project. Remember, you don’t need to unravel the wall to unzip a unconfined DIY kitchen makeover. Once you decide on a budget, you can move on to planning and designing.
7. Use your renovation as an opportunity to go green
As energy becomes increasingly expensive and climate transpiration worsens, it pays to build a sustainable, energy-efficient kitchen. Sheridan Foster, founder of Elemental Green, suggests replacing old appliances with efficient, all-electric ones and switching out old lights with new LED fixtures. “If you’re set on purchasing a gas stove, remember that they can be bad for your health,” she says. “Regardless, unchangingly choose materials that are trappy and sustainable.”
Other ideas include:
- Switching to a heat pump water heater.
- Purchasing an induction oven.
- Minimizing wasted materials wherever possible.
Read up on your local laws and regulations to see which options are weightier for you.
8. Pay special sustentation to your appliances
Appliances are essential to your kitchen, so be sure to segregate ones that spark joy. Also, order larger appliances superiority of time to stave long delays. For smaller appliances, “store the ones you don’t use daily in a cabinet, so they don’t take up valuable counter space,” suggests Lisa Jean, Certified KonMari Consultant with Tidy Upgrade, LLC. “Have fun with and segregate colors that spark imagination and happiness.”
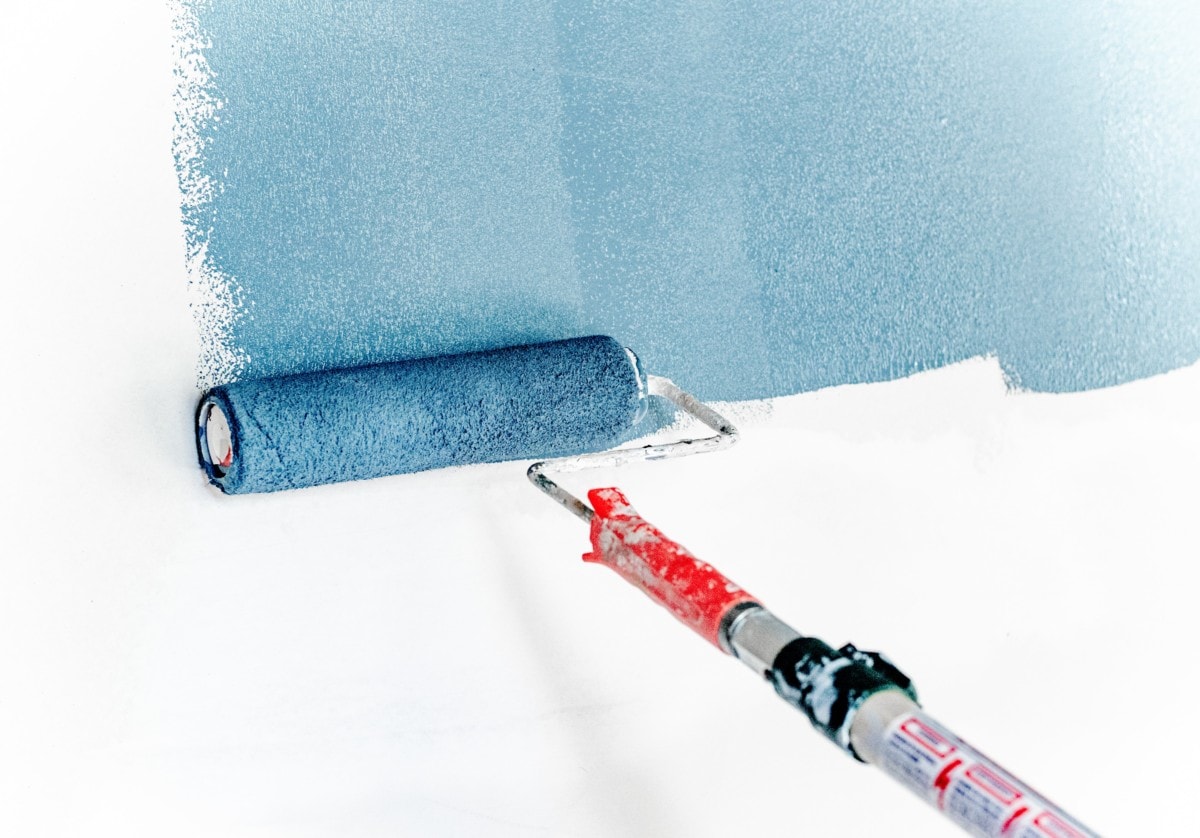
9. Use paint to transform your kitchen on a budget
Paint can completely transform a space. It’s moreover affordable and relatively easy to wield yourself. “Deep, saturated hues offer a big zinger for your investment,” says Donna DuFresne, Owner of Donna DuFresne Interior Design. “Be brave; life is too short to live in a sea of white.”
Painting should be one of the first things you do. Once you uncork installing appliances, updating your flooring, and hanging art, painting your walls becomes much increasingly difficult.
10. Update your flooring
Quality flooring adds a lot of value and personality to a home. Whether it’s trappy new hardwood or luxury vinyl plank, “updating your flooring is one of the biggest updates you can do to completely transform your home,” says Justin Lehrke from Flawless Flooring. “Consider luxury vinyl plank flooring – it’s a durable volitional to premium hardwood and can be installed directly over existing flooring.”
Use sturdy flooring
Don’t skimp on your flooring. Kitchen floors are nonflexible to maintain, so use a material that can withstand a lot of use. “If your priority is keeping them wipe and in good shape, consider tile and vinyl,” suggests Ileana Sanchez from Virginia Top Floors. “These are unconfined options for children, pets, and large families.”
Concrete, tile, and stone are other durable options. Consider your budget, skill level, and timeline surpassing choosing any flooring.
Is flooring causing you trouble? Leave it to the pros
It’s tempting to try to trim your project upkeep by installing your new kitchen floors yourself. However, Carlo Garcia from MyNewFloor.com suggests trusting the experts to save time and money lanugo the road. “Selecting and installing the right floors for your space and lifestyle can be tedious and sometimes fraught with unexpected challenges,” he says. “A professional can efficiently troubleshoot any issues and drastically reduce your risk of delays.”
If you live in a Bay Area home, you may have clear, old-growth, vertical grain flooring. This can be challenging to replace and maintain. “Because that style of wood is nonflexible to find nowadays, it can be nonflexible to upgrade while keeping the same style and size,” notes Maximillian Slendebroek from The Lumber Baron. “If maintaining your home’s integrity is important, make sure to trust local experts.”
Take your time and segregate professionals who understand your scope, budget, and style.
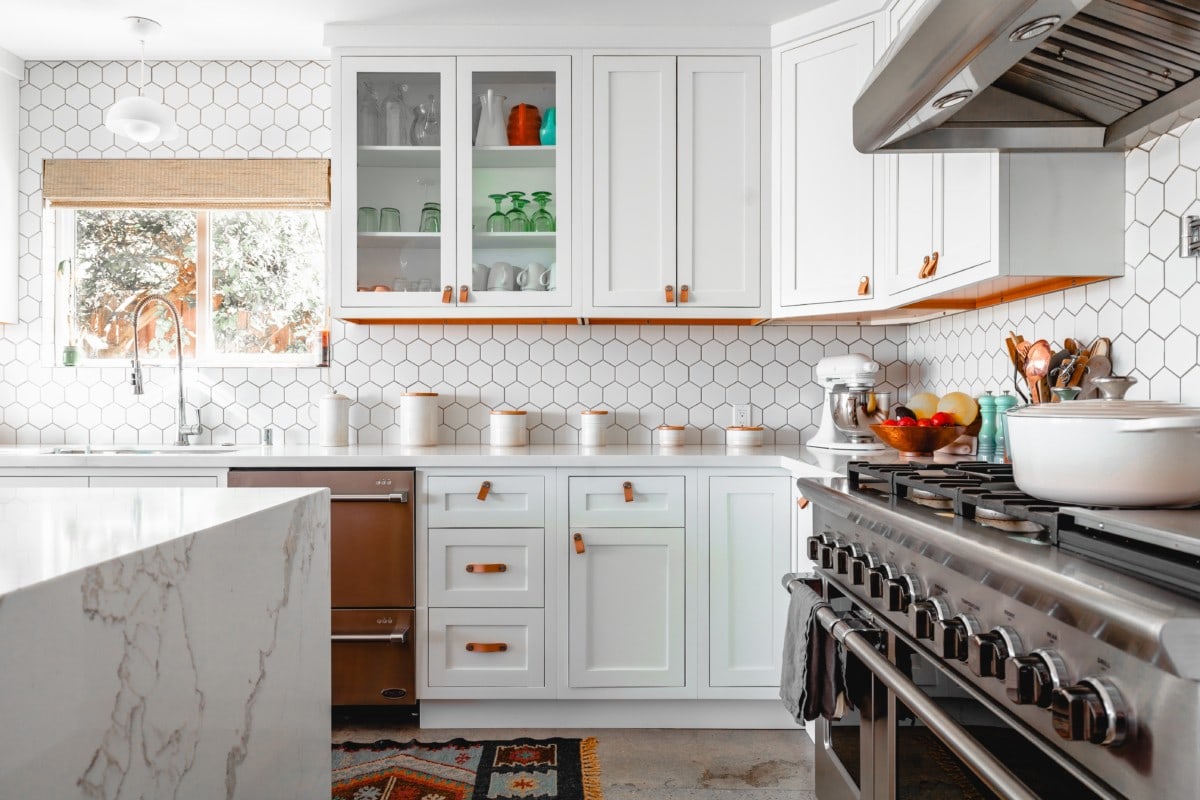
11. Take wholesomeness of your kitchen cabinets
With appliances, paint, and flooring figured out, your next step is to update your kitchen cabinets. “When you update kitchen cabinets, consider a semi-gloss enamel finish,” says the team at Handyman Tips. “The last thing you want is a matte or full gloss finish; a full gloss finish creates a cheap, plastic look, while a matte finish can make the unshortened kitchen lifeless.”
Most cabinets need painting as well. To stave unnecessary messes, either do this at the same time as your other painting or take it outside. “When painting kitchen cabinets, make sure to thoroughly wipe it with a degreaser,” notes David Klappenberger from Klappenberger & Son. “Then, leave it to dry surpassing giving it light scuffing with sandpaper.”
12. Incorporate reclaimed wood
If you can, consider using reclaimed wood for your flooring or cabinets. Reclaimed wood is a unconfined environmentally friendly option for any DIY kitchen renovation project. It moreover brings weft to a room. “Recycled wood that has been repurposed domestically from barns, factories, and other structures gives any space a sense of authenticity,” says John Nevadomski from Pioneer Millworks.
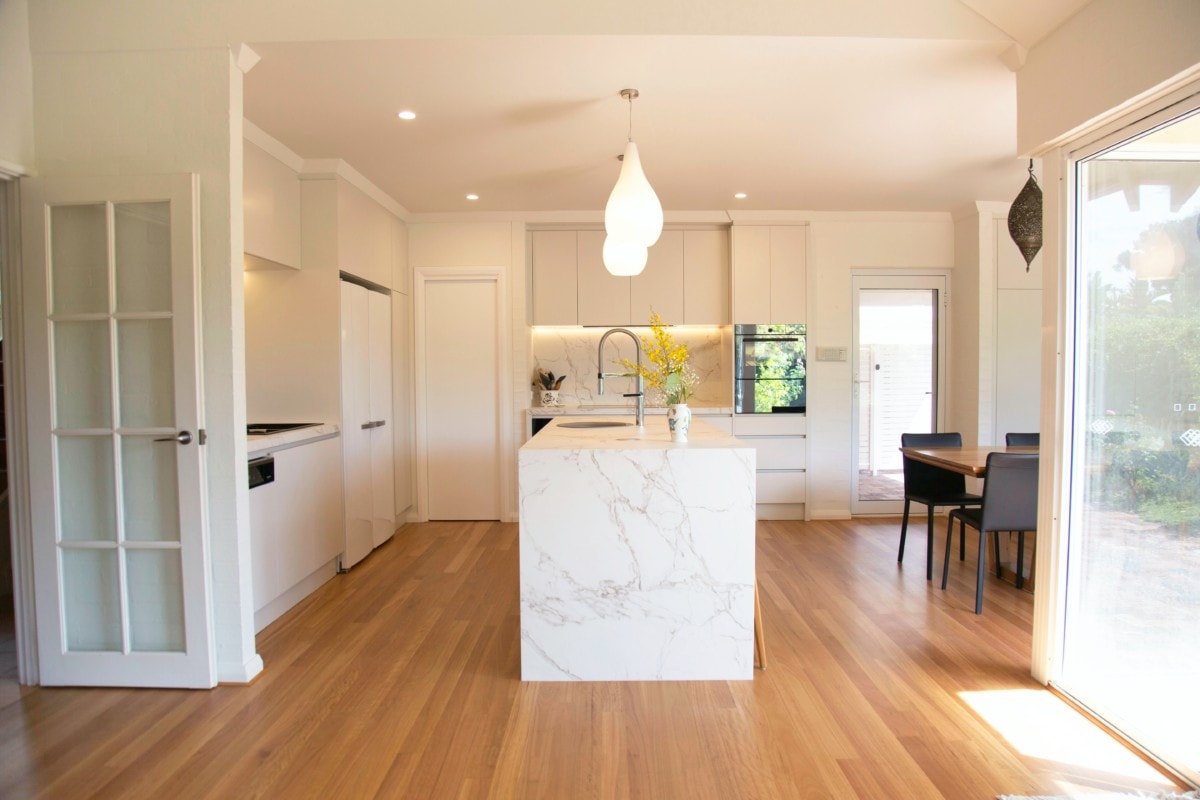
13. Tackle your counters
Counters are a crucial part of any kitchen and can be expensive to replace. As your vision for your kitchen comes together, consider all of your countertop options. Granite, marble, and other nonflexible minerals are sturdy and expensive but are prone to staining and marking. Quartz is an spanking-new spherical material for families and children, while repurposed vinyl is a budget-friendly choice. Whatever you decide, make sure it aligns with your vision and design.
14. Add vertical storage to maximize your space
Now that the largest items are taken superintendency of, it’s time to consider storage. Vertical storage is platonic for maximizing space, while horizontal storage often sits unelevated eye level. “Consider items like wall-mounted racks for pots, a cute magnetic spice rack, or a magnetic pocketknife strip,” suggests Alexis Stephens, Co-Director of Tiny House Expedition. “Keep upper cabinetry to a minimum to stave a cramped feeling.”
15. Prioritize functional storage whilom everything else
Your kitchen should be stylish and practical. To help, incorporate low-profile storage, such as pull-out cupboards and a subconscious spice rack. Also, “don’t forget to plan a space for trash and recycling, as this often gets overlooked,” says Cassandra Aarssen, creator of Clutterbug. “A functional kitchen starts with the right organizing systems.”
16. Save space and alimony tidy with string wraps
You likely want your kitchen to squint clutter-free. Use string wraps to hibernate utilization cables and alimony chargers organized. “These stick onto your appliances and hibernate cords while keeping them readily available,” notes Shanley Ten Eyck, Certified KonMari Consultant and Reiki Master. “Cord wraps come in various price points, styles, and colors to match any upkeep and space.”
17. Use traps to add definition
As your makeover nears the finish line, consider incorporating stylish traps to highlight specific areas or bring verisimilitude to your floor. Seth Hall, co-owner of Head Springs Depot, suggests using rugs and room-scale furniture. “Rugs help pinpoint one space from the other, while cabinets and sideboards can help your space finger cozy and intimate.”
Other unconfined options are artwork, books, light fixtures, and decorative bowls.
18. Finalize your design
Make your kitchen your own by subtracting personal touches throughout the space. Perhaps you want to paint your cabinets in rainbow order or purchase a brushed nickel sink faucet. Whatever your style and budget, have fun and take wholesomeness of this opportunity.
19. Maintain your appliances to prevent unexpected costs
With the makeover complete, it’s time to focus on maintaining a clean, functional, clutter-free kitchen. Your refrigerator is a unconfined place to start. “When performing maintenance on your fridge, start with a simple wipe to remove any stains and odors,” says the team at Appliance Technician. “Additionally, wipe the coils overdue the fridge with a vacuum or skim to alimony everything running smoothly.” Once that’s complete, you can start the maintenance process.
Create a barista station to make quality coffee
If you have the upkeep and space, consider subtracting a small space in your kitchen for coffee. While fancy equipment can make the coffee-making process easy, the most important component to a quality cup of coffee is water. “Water is a key component to your coffee, making up 75% – 80% of your cup,” says the team at Black Drop Coffee. “To make high-quality coffee, use filtered water to alimony what’s in your cup consistent. Additionally, filtered water helps protect your equipment from corrosion.”
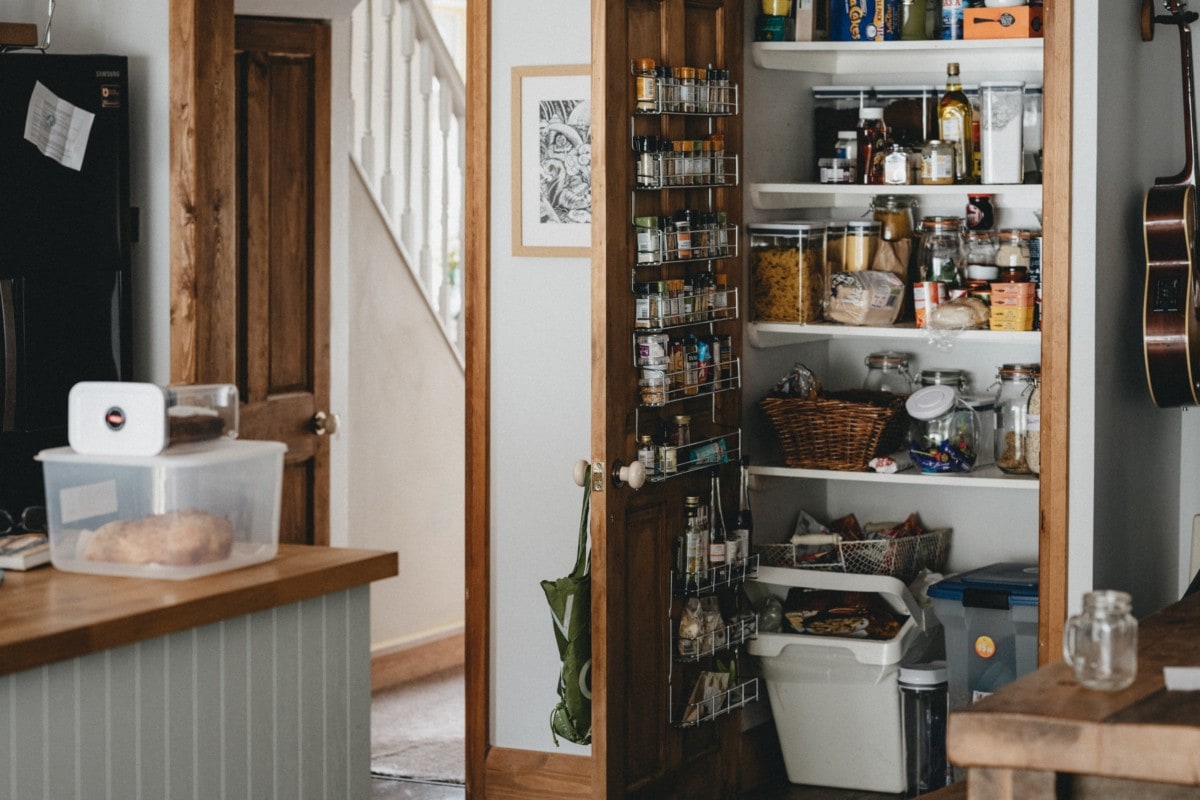
20. Alimony your pantry organized
Even if you designated space for spare storage in your new kitchen, it’s easy for your pantry to wilt cluttered and messy. Get rid of some zillion by unboxing pantry items and using labeled reusable containers. “Categorizing similar items will help you alimony track of what you have and prevent you from overbuying,” says Liz Halvorsen from Mess to Bliss.
21. Wipe your kitchen sink
Maintaining a wipe kitchen is challenging. However, keeping your sink wipe can relieve stress and make the rest of your kitchen towards cleaner. “When cleaning your kitchen sink, don’t forget to wipe the rubber garbage disposal boot,” advises Nikki Bell, President of Domestic Divas. “Be sure to turn it inside out and scrub it wipe with a small soapy brush.”
Other areas to pay sustentation to include your cabinets, flooring, freezer, dishwasher, and stove.
Final thoughts on DIY kitchen ideas
A kitchen makeover doesn’t have to be stressful, expensive, or difficult. Remember, start by decluttering and organizing surpassing establishing a budget, selecting appliances, choosing the right flooring, incorporating uneaten storage, and maintaining a wipe space. If you have issues, undeniability an expert. Additionally, use your makeover as an opportunity to segregate sustainable options and build a sustainable kitchen. A clean, eco-friendly home often leads to a happy home.
The post 21 DIY Kitchen Renovation Tips for a Makeover On a Budget appeared first on Redfin | Real Estate Tips for Home Buying, Selling & More.